- ✓SSIM 0.95+ is the scientific threshold for 'visually identical' — achievable at quality 80-85
- ✓WebP at quality 80 produces files 30% smaller than JPEG at quality 80 with equal SSIM
- ✓Lossless compression only achieves 10-30% reduction — rarely sufficient for most web needs
- ✓The quality/size sweet spot for web photos: WebP at 80-82 quality
Compress images at 80–85% lossy quality. At that setting, file sizes drop 60–80% while the SSIM (Structural Similarity Index) perceptual quality score stays at 0.95 or above — the scientific threshold for "visually identical." A 2.4MB JPEG becomes 320KB. Optimage's compress tool applies this automatically, for free, in any browser.
What "Losing Quality" Actually Means
When people say they don't want to lose quality, they usually mean they don't want their images to look blurry, blocky, or degraded on screen. That's a different question from whether any mathematical information is lost.
Lossy compression always discards some data. The question is whether the discarded data was data your eyes could see. At 80–85% JPEG quality, the answer is no — the compression removes imperceptible high-frequency details while preserving everything the visual system actually perceives.
This is what SSIM measures. A score of 1.0 is a perfect pixel-for-pixel match. A score of 0.95 is the threshold below which humans start to notice degradation in controlled testing. Optimage's compression keeps SSIM at 0.95–0.98 for typical photographs.
The File Size Reality: Original vs Compressed vs Over-Compressed
The chart above tells the core story. At Optimage's default 85% quality:
- A 2.4MB photo becomes 320KB — an 87% reduction
- SSIM score: 0.97 — no visible difference
- Page load improvement: the same image loads 7.5x faster
Drop quality to 60% chasing a 90KB target, and SSIM falls to around 0.80. That's where you see JPEG blocking artifacts, colour banding, and smeared edges. The 90KB file looks noticeably worse.
Lossy vs Lossless: Which One Should You Use?
Lossless compression removes redundant data without discarding any image information. PNG files use lossless compression. The output is mathematically identical to the input. Lossless compression typically achieves 10–30% size reduction.
Lossy compression removes imperceptible data. JPEG, WebP, and AVIF all use lossy compression by default. Lossy compression achieves 60–90% size reduction at comparable perceptual quality.
For photographs: always use lossy compression at 80–85% quality. Photos have millions of colour variations that compress very efficiently with lossy algorithms, and the human visual system cannot detect the loss.
For logos, screenshots, and flat-colour graphics: lossless compression or PNG is better. These images have sharp edges and solid fills where lossy artifacts become visible.
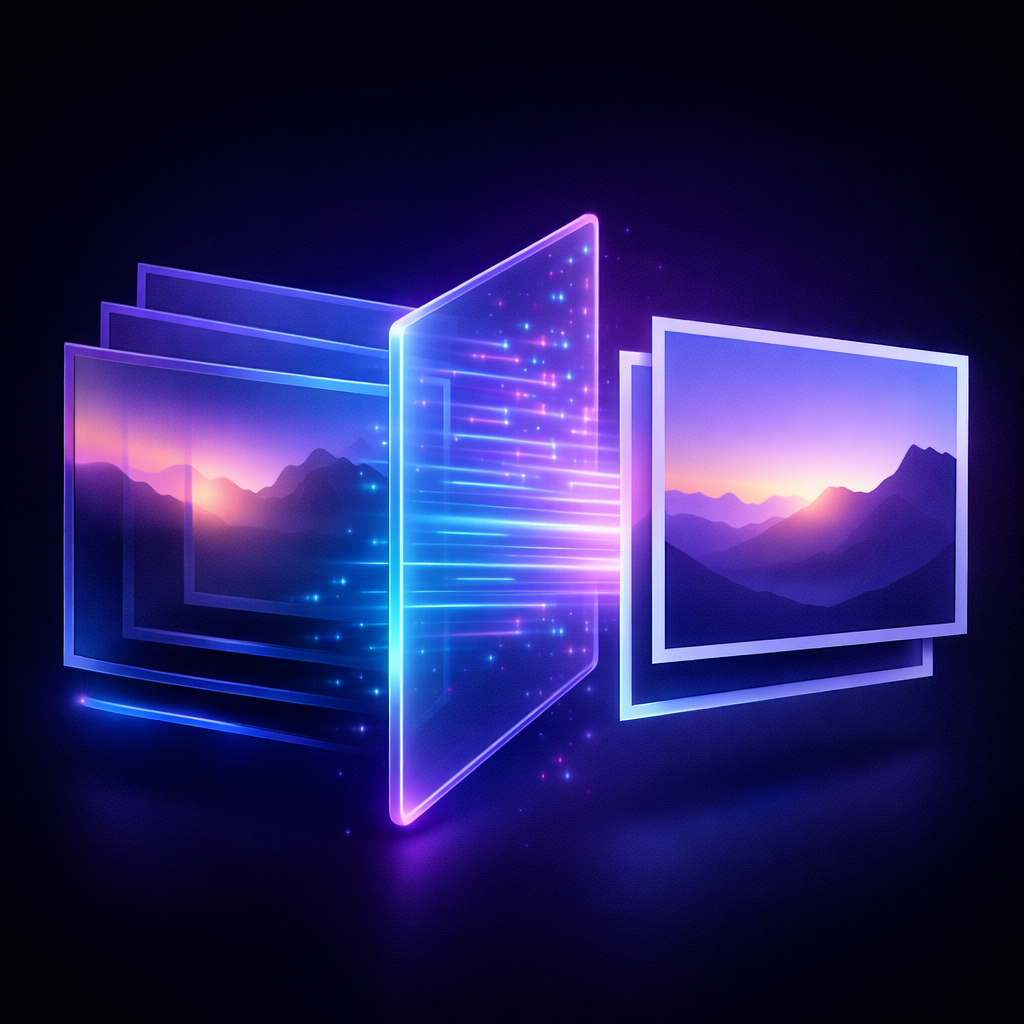
How Optimage Compresses Your Images
Optimage applies a three-stage pipeline:
- Format detection — it reads the input format and selects the optimal compression codec (MozJPEG for JPEG, libvips for PNG, libwebp for WebP).
- Quality tuning — it targets SSIM 0.95 or above, adjusting quality per-image rather than using a fixed setting. A high-noise photograph may compress more than a flat-colour graphic to reach the same perceptual quality level.
- Metadata stripping — optional but enabled by default, removes EXIF data that adds 5–50KB to every image without affecting the visible picture.
The result: you upload a file, you get back the smallest possible version that looks identical.
Compress Images Without Photoshop — Browser-Only Workflow
Many guides suggest Adobe Photoshop's "Save for Web" dialogue as the gold standard. It is effective, but it costs $55/month and requires installation. Optimage's compress tool produces comparable output with zero cost and no installation.
The workflow:
- Go to Optimage Compress
- Drag your images onto the page (multiple files accepted)
- Download the compressed versions — the page shows exact before/after file sizes and percentage saved
For images destined for your website, also consider converting to WebP or AVIF after compression. Modern browsers support these formats, and they achieve 25–35% better compression than JPEG at equal quality.

What Quality Setting to Use for Different Use Cases
| Use case | Recommended quality | Expected output size |
|---|---|---|
| Website hero images | 82% | 150–400KB |
| Product thumbnails | 78% | 20–80KB |
| Blog post images | 85% | 100–350KB |
| Social media uploads | 90% | 300–800KB |
| Email newsletter images | 75% | 30–100KB |
| Print-ready files | 95%+ (or lossless) | 1–5MB |
Social platforms like Instagram and Twitter re-compress your uploads anyway, so starting at 90% gives them enough quality headroom. For email, smaller files matter more for deliverability, so 75% is acceptable.
Frequently Asked Questions
Is lossy compression bad for images?
Not at 80–85% quality. Lossy compression only "looks bad" when pushed past 70%, which is where blocking artifacts and colour degradation become visible. At 82%, the compression is scientifically indistinguishable from the original in standard SSIM testing.
What quality setting should I use for web images?
Use 80–85% for JPEG. For WebP, 75–80% produces equivalent visual quality because WebP's codec is more efficient. Optimage sets these automatically when you use the compress tool.
How do I compress images without Photoshop?
Use a browser-based tool like Optimage at /compress. Upload your file, and Optimage applies MozJPEG or equivalent compression automatically. No software to install, no account required.
What is the smallest I can compress an image without noticing?
For a typical 12-megapixel photograph, you can compress to roughly 150–300KB (from 3–5MB original) before quality loss becomes visible. The exact threshold depends on image content — smooth skies compress further than detailed foliage.
Continue reading
Try Optimage — it's free
Compress, convert, and optimize images in seconds. No sign-up, no limits.
Start Optimizing Free