
GPT Image 2.5 makes AI images faster to generate and easier to direct with Sketch. The choice between Flare and Sunburst is about speed against detail. The step most teams skip is afterwards: raw outputs are heavy, and publishing them unconverted slows every page they're on.
- ✓GPT Image 2.5 launched September 8, 2026 with about half the generation latency of the previous version
- ✓Sketch turns a rough drawing into a finished image, useful for layouts, product mockups and thumbnails
- ✓Flare is the faster API variant; Sunburst trades speed for detail. Use Flare for drafts and volume, Sunburst for hero images
- ✓Raw AI output is often a multi-megabyte PNG; a WebP at quality 80 is usually 85-95% smaller with no visible difference
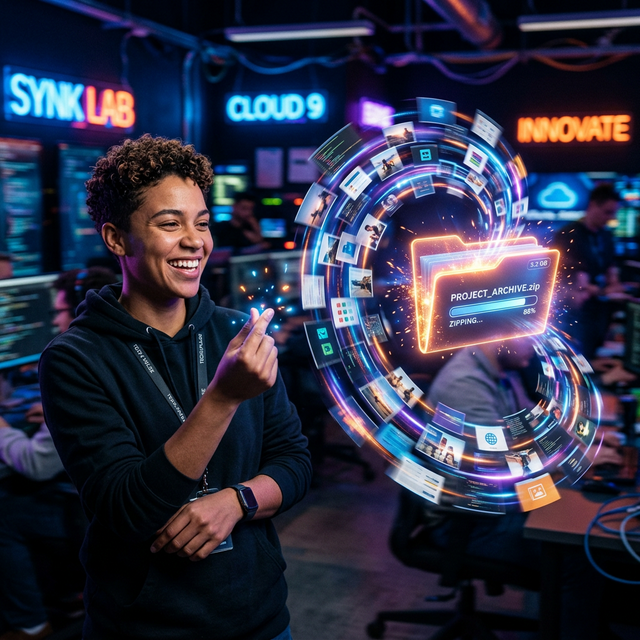
GPT Image 2.5, released September 8, 2026, cuts generation latency roughly in half, adds a Sketch feature that turns your drawings into finished images, and comes to the API in two variants: Flare, built for speed, and Sunburst, built for detail. For most teams the choice is simple. Use Flare while you iterate, and Sunburst for the image you actually publish.
Nearly three weeks in, it's also clear what people are doing with the output: generating images faster than ever and publishing them onto pages without optimizing them. A faster generator doesn't make a lighter file.
Flare vs Sunburst: Pick by Where the Image Ends Up
| Flare | Sunburst | |
|---|---|---|
| Built for | Speed | Detail |
| Best for | Drafts, variations, bulk thumbnails, internal mockups | Hero images, product visuals, print, anything scrutinized |
| Trade-off | Some quality given up for speed | Longer generation time |
| When to switch | Once you've found the composition | Only for the final version |
The sensible workflow uses both. Generate ten Flare variations to explore composition, pick the one that works, then regenerate it with Sunburst using the same prompt and, if you have one, the same sketch. You get the speed of iteration without shipping draft-quality output.
The mistake to avoid is running everything through Sunburst "for quality". For a 400px blog thumbnail or a social card, the extra detail disappears at display size and you've waited longer for nothing.
Sketch Is the Real Upgrade
Prompts describe what you want. Sketches show where it goes. That difference matters for the images that are hardest to prompt:
- Layouts with a fixed structure: a hero banner with the product on the right and empty space on the left for a headline.
- Product mockups: a rough outline of packaging, a label placement or a shelf arrangement.
- Thumbnails: a composition that has to leave room for a play button or text overlay.
A 30-second sketch with boxes and arrows often gets you the right composition on the first try, where a text prompt might take five. Draw what's fixed, the positions and proportions, and let the prompt handle style, lighting and materials.
The Step Everyone Skips: The Output Is Heavy
AI image output is typically a large PNG. A single 1536px image can easily be 2 to 4 MB, because PNG is lossless and AI images are full of fine texture and smooth gradients that lossless compression handles poorly.
That's fine for editing. It's a problem for a web page. One unoptimized hero image can be heavier than the rest of the page combined, and it's almost always the Largest Contentful Paint element that Google measures.
A Publishing Workflow for AI Images
- Request a web format from the API where possible. Earlier GPT Image versions let you set the output format (PNG, JPEG or WebP) and a compression level in the API call. If you're generating for the web, ask for WebP up front instead of converting later.
- Resize to the display size. If the image is shown at 1200px wide, resize it to 1200px, or 2400px for high-density screens. Generating big and displaying small wastes bytes at every level.
- Convert and compress. Convert PNGs to WebP or AVIF at quality 75 to 85, then compress any that still come in above 300 KB. AI images with smooth gradients, such as skies, studio backgrounds and soft lighting, are the most likely to show banding, so check those at 100% zoom before publishing.
- Keep a lossless master. Save the original PNG for future edits. Re-editing an already compressed WebP and saving it again stacks compression artifacts.
Content Credentials: Know What You're Removing
OpenAI attaches C2PA Content Credentials to images it generates, a signed record of their AI origin. Platforms such as TikTok and LinkedIn read these to label AI content automatically, and regulators are increasingly treating disclosure of AI imagery as an obligation.
Many conversion and compression steps remove metadata, including C2PA. That's not automatically a problem, since an image on your own website doesn't need them. But if you're sending AI images to platforms that label AI content, or you have disclosure obligations, either keep the credentials on the files you distribute or disclose the AI origin another way, such as a caption or the platform's AI label. Use metadata removal deliberately, for privacy, not by accident.
Where AI Images Don't Belong
Faster generation makes it tempting to use AI everywhere. A few places it causes real problems:
- Product photos of the actual product. A shopper deciding whether to buy needs to see what arrives in the box. Marketplaces such as Amazon require the main listing image to accurately show the product for sale, and an AI rendering that invents stitching, texture or color leads to returns and bad reviews. Use AI for backgrounds and lifestyle scenes if you label them, not for the product itself.
- Real people, places and events. An AI image of a real event, a real location as it looked on a real day, or a real person doing something they didn't do is a misinformation problem even when it isn't meant as one. Platforms are tightening labeling rules around exactly this.
- Before-and-after comparisons. Renovations, cosmetic treatments, cleaning services: if either image is generated, the comparison is fiction, and in some industries advertising rules treat it that way.
- Anything where trust is the product. Portfolios, testimonials and team pages work because they're real. Generated headshots on an "our team" page undermine the reason the page exists.
AI images work best where nobody could mistake them for a record of reality: illustrations, concept art, abstract backgrounds, mockups and editorial art clearly presented as art.
The Bottom Line
GPT Image 2.5 is faster and easier to steer, and Sketch is the most practical improvement in some time for anyone who needs a specific composition. Flare for exploring, Sunburst for the final. Then treat the output like any other photo headed for the web: resize to where it's displayed, convert to a modern format, compress, and keep a master. Faster generation should mean faster pages too.
Related reading:
- OpenAI DALL-E Retirement: Download Your Images: keeping your older AI image library
- Meta Muse Image AI Generator Launch: a competing image model
- EU AI Act Article 50: Compression and C2PA: disclosure rules and what compression strips
Frequently asked questions
What is the difference between GPT Image 2.5 Flare and Sunburst?
They are the two API variants released with GPT Image 2.5 on September 8, 2026. Flare is designed to be faster while keeping reasonable quality; Sunburst produces more detailed images but takes longer. Flare suits drafts and bulk work, Sunburst final hero images.
What does the Sketch feature in ChatGPT Images do?
Sketch lets you draw a rough outline, such as a layout, object or composition, and have GPT Image 2.5 turn it into a finished image. It gives you more control over composition than a text prompt alone.
Should I compress AI-generated images before putting them on a website?
Yes. AI images are often generated as large PNGs of several megabytes. Converting to WebP or AVIF at quality 75-85 typically cuts the size by 85-95% with no visible difference, which directly improves page load and Core Web Vitals.
Continue reading
Try Optimage — it's free
Compress, convert, and optimize images in seconds. No sign-up, no limits.
Start Optimizing Free