
- ✓San Diego Comic-Con 2026 runs Thursday July 23 through Sunday July 26 at the San Diego Convention Center
- ✓Convention hall lighting is a mix of fluorescent overhead and harsh booth spotlighting, which is one of the hardest combinations to expose correctly
- ✓Detailed cosplay — armor, fabric texture, face paint — needs less aggressive compression than most social photos to survive the trip to a feed
- ✓Shooting in a crowd means capturing more frames than usual and culling hard, rather than trying to nail one perfect shot
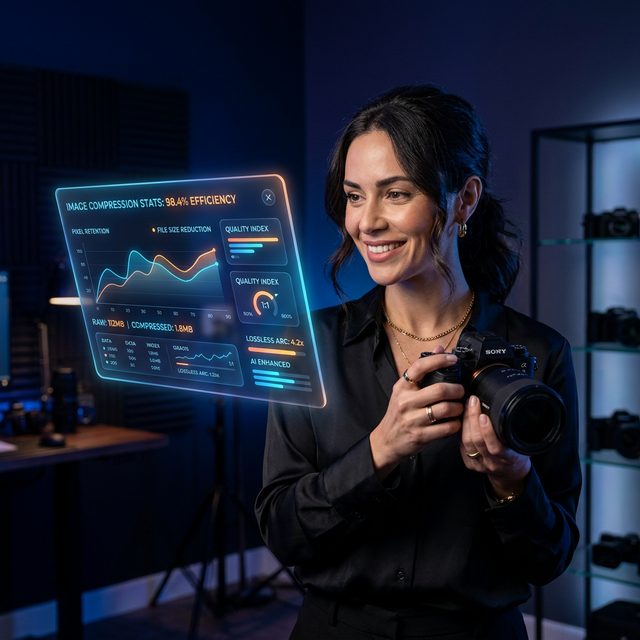
San Diego Comic-Con 2026 opened its main four days today, July 23, and the exhibit hall floor is already packed with some of the most detailed costume work of the year. It's also one of the hardest photography environments most people shoot in all year — mixed lighting, moving crowds, and costumes with the kind of fine detail that gets destroyed the moment a photo gets compressed carelessly before it's shared.
Why Convention Hall Lighting Fights You
Overhead fluorescents, warm booth spotlighting, and colored LED accents from nearby displays are all fighting for the same frame, and most cameras' automatic white balance simply averages them into a muddy compromise. Add a moving crowd and costumes that range from matte fabric to reflective armor, and you've got one of the most technically demanding casual photography environments most people encounter all year — worse than a wedding, worse than most sports.
Shooting: What Actually Helps in the Hall
- Set white balance manually for whichever light source dominates that section of the hall, rather than trusting auto — a booth with strong spotlighting needs a different setting than open floor under fluorescents.
- Shoot in RAW if your camera or phone supports it — it gives you real recovery room for the inevitable exposure mistakes mixed lighting causes, which a compressed JPEG straight out of the camera doesn't.
- Get close enough that costume detail actually registers — armor seams, face paint blending, fabric texture are the entire point of a cosplay photo, and they disappear first at a distance in a crowded hall.
- Shoot more frames than feels necessary and cull hard afterward — with people moving through frame constantly, your best shot of a costume is rarely your first attempt.
Processing: Where Most Cosplay Photos Actually Lose Their Detail
Most cosplay photos don't lose detail in the camera — they lose it the moment they get sent through a messaging app or uploaded straight to social media without a deliberate compression pass first. Platform and app default compression is tuned for average photos, not for images dense with fine fabric weave, painted texture, and small prop detail, which is exactly the kind of content most compression algorithms flatten hardest. A manual compression pass, where you control the quality target instead of accepting whatever the app decides, preserves noticeably more of that detail at a comparable file size.
- Resize to the platform's actual display size before compressing — a smaller starting resolution compressed carefully looks better than a full-size photo left to an app's aggressive auto-compression.
- Use a quality setting in the 80-85% range for detailed costume shots rather than accepting a platform's default, which is usually tuned lower for average phone photos.
- Batch-process the whole day's shoot at once using Optimage's bulk compressor instead of exporting photo-by-photo between panels.
What to Take From This
Comic-Con's exhibit floor produces some of the most detailed, effort-filled photo subjects you'll encounter anywhere, and the lighting and crowd conditions make it genuinely hard to shoot well. Get white balance right for the moment, get close enough for detail to register, and compress deliberately rather than letting an app decide — that's the entire difference between a cosplay photo that does the costume justice and one that turns hours of craftsmanship into a muddy, blurry post.
Related reading:
- ESPY Awards 2026: Red Carpet Photo Workflow — a related look at shooting under mixed event lighting
- Emmy Nominations 2026: FYC Photo Campaigns — another entertainment-industry photo turnaround case
- Auto Enhance Photos Online — quick fixes for photos shot under imperfect lighting
Frequently asked questions
Why do convention cosplay photos often come out with a color cast?
Convention centers typically mix fluorescent overhead lighting with warmer booth spotlights and colored LED accents from nearby displays, which confuses a camera's automatic white balance. Shooting in RAW or manually setting white balance for the dominant light source in a given hall section produces more consistent color than relying on auto settings.
What's the best way to share cosplay photos without losing detail?
Export at the platform's actual display resolution rather than your camera's full resolution, and use a compression setting that preserves fine texture — armor detailing and fabric weave are exactly what aggressive compression destroys first. A dedicated compression pass beats letting a messaging app or social platform apply its own default compression.
Continue reading
Try Optimage — it's free
Compress, convert, and optimize images in seconds. No sign-up, no limits.
Start Optimizing Free